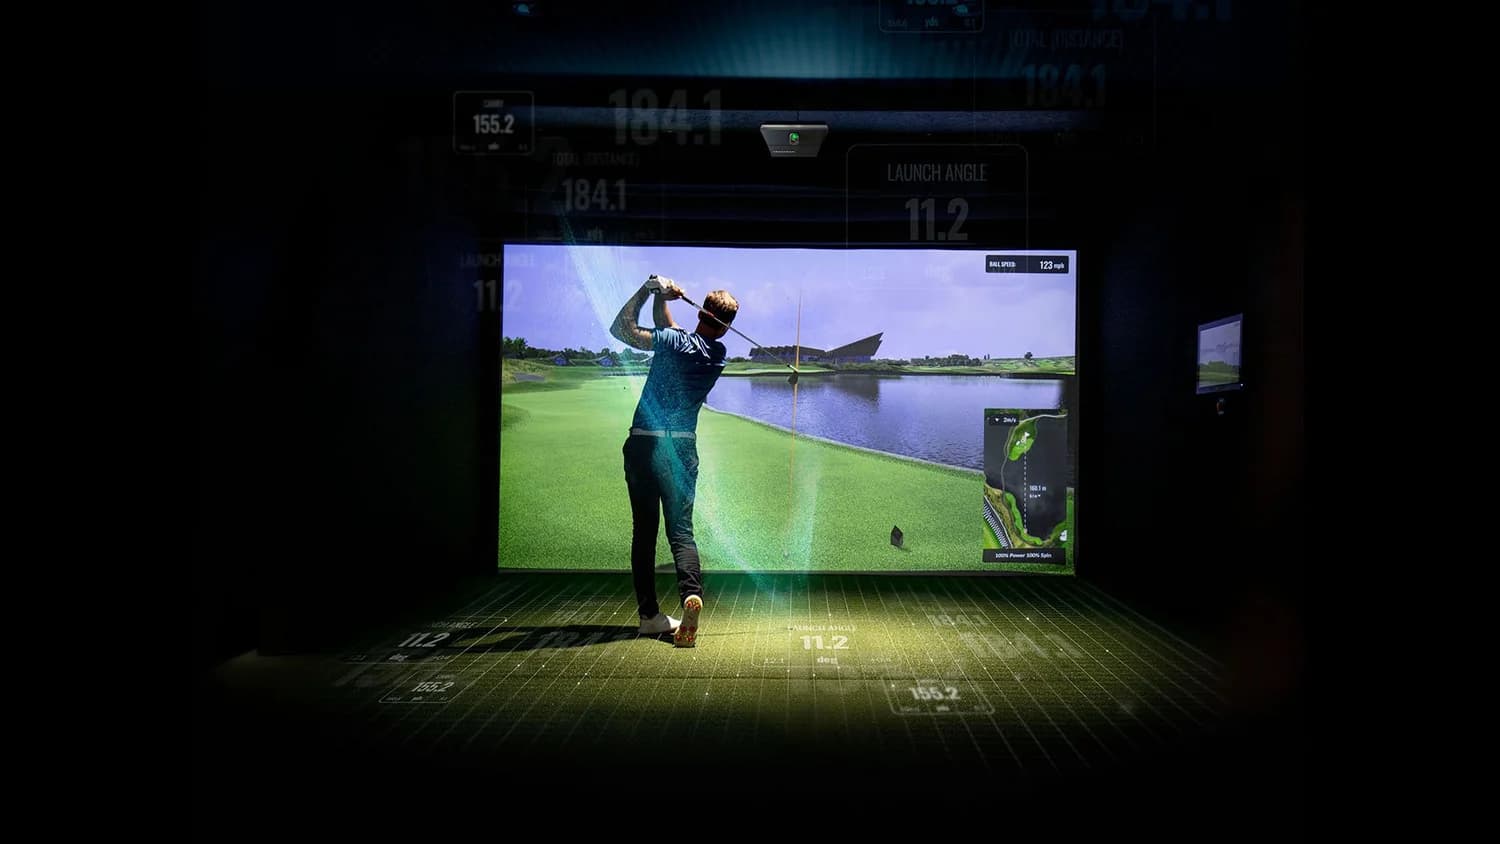
Free golf simulator room planner
Plan your full golf simulator room layout before you buy hardware
The Golf Sim Room Planner helps you answer the questions that actually decide whether a home simulator fits: room dimensions, screen size, tee position, projector throw, and launch monitor placement.
Building a home golf simulator is mostly a spacing problem. Before you price an enclosure, impact screen, launch monitor, or projector, you need to know whether the bay can hold a full swing, center the screen with side margin, mount the projector at the correct throw, and place the sensor where the manufacturer expects it. This free 3D golf simulator room planner is built for that decision.
Most online golf simulator design tools only solve projector throw and image size. That leaves out tee position, ceiling clearance for driver follow-through, launch monitor sightlines, and whether the screen sits too high or too wide for the room. The Golf Sim Room Planner models the full bay together so you see conflicts early, not after the screen is ordered.
Enter your measured width, depth, and ceiling height, then adjust screen size, tee-to-screen distance, ceiling projector mount height, and monitor position. Spacing readouts and a rotatable 3D preview update live in feet or meters. Use it for basements, garages, bonus rooms, and dedicated simulator builds.
Typical room dimensions to start from
These presets are built into the planner. Swap in your measured room and watch spacing readouts to see whether you are above or below a comfortable fit.
| Dimension | Minimum | Recommended | Premium |
|---|---|---|---|
| Room width | 11 ft | 14 ft | 16 ft |
| Room depth | 15 ft | 18 ft | 22 ft |
| Ceiling height | 9 ft | 10 ft | 11 ft |
- Room width: Side clearance for driver swing and centered screen margin
- Room depth: Tee-to-screen distance, swing depth behind ball, and projector throw
- Ceiling height: Driver follow-through and overhead launch monitor mounts
How to use the Golf Sim Room Planner
Step 01
Enter your room dimensions
On desktop, use the panel on the left. On mobile, tap Edit at the bottom, then open the Room tab. Measure wall-to-wall width, front-to-back depth, and floor-to-ceiling height at the hitting area. Start with the preset closest to your space (15.5×20×9 Signature, 11×15×9 Compact, or 16×22×11 Luxury), then replace every number with your actual dimensions. Switch ft / m anytime; all readouts and labels follow your choice.
Step 02
Fit the impact screen and tee
In the Screen tab, set impact screen width, height, and how high the bottom edge sits off the floor. A wider screen needs more room width; a taller screen needs more ceiling height above the top edge. In Tee, set distance from the screen face. Watch Spacing readouts: Screen side margin and Above screen should stay positive. The green floor line in the 3D view shows tee-to-screen distance so you can confirm it matches how you measure the room.
Step 03
Confirm projector throw and image size
Open Projector. Set horizontal throw distance (lens to screen), height from ceiling, lateral offset if needed, and projection aspect (16:9 is the usual starting point). Enable the Projector overlay to see a wireframe image on the screen. Aim for Image fills screen in the projector status panel. If the image letterboxes or exceeds the screen, adjust throw, screen size, or aspect until the projected image matches the screen face. Turn off the Roof overlay to inspect ceiling mount clearance.
Step 04
Add a launch monitor
In Monitor, enable the launch monitor, pick your model, then choose a mount: floor behind the ball, floor downrange, ceiling overhead, ceiling downrange, or side wall. Each mount exposes the fields that matter for that placement, such as behind-tee distance, downrange offset, and height. The calibration note and readouts for Monitor to tee and Sensor height show whether the unit sits in the range that model typically expects.
Step 05
Validate in the 3D preview
Tap Preview on mobile or use the main view on desktop. Drag to rotate and pinch to zoom on mobile. Room width, length, and height label the bay envelope. Toggle Labels for screen and throw dimensions. You are looking for a centered screen with margin, a projector beam that lands on the screen face, comfortable tee depth, and enough ceiling clearance when the roof is hidden. Switch to Engineer for design drawings you can build from: floor stack, enclosure frame, screen hardware, and equipment locations. Verify final measurements on site.
Step 06
When something does not fit
Shrink the screen, move the tee closer to the screen, shorten throw, lower the screen bottom height, or step up to a larger room preset, then re-check spacing readouts. Negative side margin means the screen is too wide for the room. Negative above-screen clearance means the screen or projector layout needs to move down or the ceiling is too low. Use the Room Size and Ceiling toolbar links for minimum requirements, or tap Have a question? in the planner if you want help interpreting your layout.
FAQ
What is the Golf Sim Room Planner?+
The Golf Sim Room Planner is a free online golf simulator layout tool that models your entire bay in 3D, not just the projector. Enter room width, depth, and ceiling height, then place the impact screen, tee mat, ceiling-mounted projector, and launch monitor. Spacing readouts and a live preview show whether the layout fits before you buy an enclosure, screen, radar, or projector.
Is this golf simulator room planner free?+
Yes. Built In Golf's Golf Sim Room Planner is free to use in your browser with no signup or download. Pick a room preset, enter your own dimensions, switch between feet and meters, and iterate on screen size, tee position, throw distance, and monitor placement as many times as you need while planning a basement, garage, or dedicated simulator room.
How is this different from a golf simulator projector calculator?+
Projector-only tools answer one question: will the image fill the screen from a given throw distance? A full golf simulator room planner also checks whether the screen fits the room width, whether the tee has space behind the ball, whether the projector clears the ceiling mount, and whether your launch monitor sits in the manufacturer's recommended range. This tool models all of those relationships in one layout.
How much space do you need for a home golf simulator?+
A basic golf simulator can fit into less space, but a polished built-in room benefits from more screen width, padded return depth, and overhead clearance. The planner's Compact preset starts at 11 × 15 × 9 ft, while the Signature 15.5 × 20 × 9 ft layout is a stronger high-end baseline. Replace those dimensions with your measured room before ordering.
Will a golf simulator fit in my basement or garage?+
Many basements and garages can work if width, depth, and ceiling height are measured correctly. Low ceilings are the most common limiter for driver swing and ceiling-mounted launch monitors. Shallow depth can force a shorter tee-to-screen distance or a smaller screen. Enter your actual room size in the planner, watch screen side margin and above-screen clearance, and confirm the tee still has space to the open end of the bay.
What ceiling height do I need for a golf simulator?+
Nine feet is a common baseline for a home golf simulator with driver use. Eight and a half feet can work for shorter swings or smaller screens, while ten feet is more comfortable for overhead units like TrackMan iO or Uneekor. In the planner, hide the roof overlay to inspect projector mount height and check that above-screen clearance stays positive. For detailed driver clearance math, use our ceiling height guide linked below the tool.
How far should the tee be from the impact screen?+
Most home setups land between 8 and 12 ft from the tee mat to the impact screen face, depending on launch monitor requirements and how much depth the room allows. In the planner, tee distance is measured to the screen face, and the floor guide line in the 3D view matches that readout. If depth is tight, move the tee closer and confirm your launch monitor still falls within its recommended range in the Monitor tab.
How do you calculate projector throw for a golf simulator?+
Throw distance is the horizontal distance from the projector lens to the impact screen. Throw ratio multiplies image width: a 1.3:1 lens at 13 ft throw produces a 10 ft wide image. In the planner, set throw distance and aspect ratio, then turn on the projector overlay to see whether the image fills the screen, letterboxes, or exceeds the screen face. Changing screen width or throw ratio updates the layout readouts instantly.
Can I plan launch monitor placement in the layout?+
Yes. Enable the launch monitor, choose a model such as Foresight GC3, TrackMan, or Uneekor, and pick a floor, ceiling, or side-wall mount. The planner shows monitor-to-tee distance, sensor height, and whether the placement matches typical calibration ranges for that model. Overhead and downrange ceiling mounts use different fields than floor units behind the ball.
What room size preset should I start with?+
Start with Signature (15.5 × 20 × 9 ft) for a balanced high-end room with a 14.5 ft screen and vinyl padded enclosure. Compact (11 × 15 × 9 ft) uses a 10 ft screen where space is tighter. Luxury (16 × 22 × 11 ft) uses a 15 ft screen, 2 × 4 vinyl panels, and an overhead launch monitor. Replace preset dimensions with your measurements before ordering.
Does the planner show projector image size on the screen?+
Yes. Turn on the Projector overlay to see a wireframe of the projected image on your impact screen. The status panel reports whether the image fills the screen, fits with letterboxing, or exceeds the screen edges, along with projected width and height based on your throw distance, throw ratio, and aspect setting.
How accurate is the 3D golf simulator room preview?+
The 3D preview is a proportional layout model for fit and finish. The Engineer drawings are the design set for construction: floor build-up, enclosure frame, bungee-mounted screen, projector, and launch monitor. They do not replace manufacturer specs or stamped structural drawings. Confirm final measurements on site before fabrication.
Related guides
The planner shows proportional fit and clearance. Still choosing a practice net versus a finished screen bay? Read net vs enclosure. Confirm the numbers in the room size guide and ceiling height guide before you commit to an enclosure or build. For sensor fit and ownership trade-offs, see the launch monitor guide. For budgets, see the installation cost guide.