Net vs enclosure
Golf Simulator Net vs Enclosure: Which Setup Is Right?
Questions, or want a custom golf sim designed?
ContactBuilt In Golf · Planning guides for home installs in Canada
Choose a golf simulator net when you mainly want safe indoor practice and launch-monitor data. Choose a full enclosure with an impact screen when you want projected courses, stronger containment, and a room that stays set up like a finished simulator.
Both are sold as “a home golf simulator,” which is why the decision gets confusing. They are not the same product. A net answers whether you will actually hit balls at home. An enclosure answers whether the space should become a permanent golf room.
Pick the wrong path first and you rarely lose only one product’s price. You lose layout assumptions, leftover gear that does not transfer, and months with a room that never matches how you wanted to use it. This guide is the fork in the road before those purchases.
What a golf simulator hitting net is
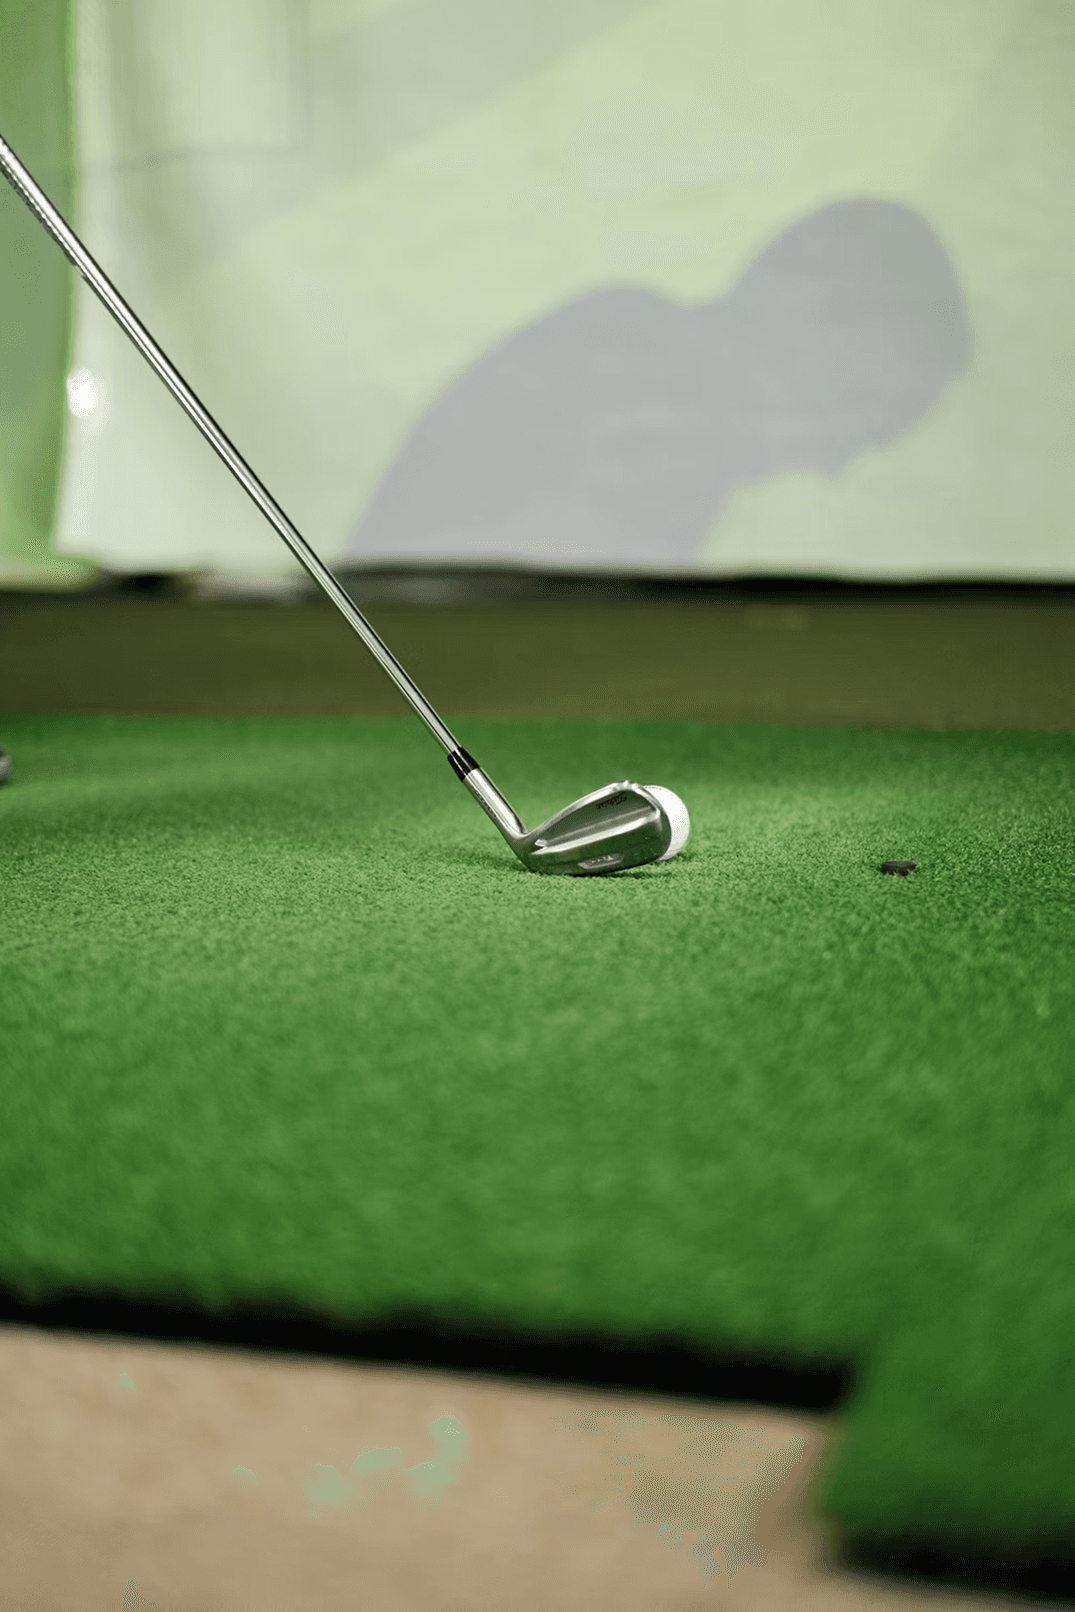
A hitting net stops the ball. Around it you usually add a stance mat, side protection for your miss pattern, and a launch monitor for club and ball data. Many owners keep a laptop or tablet nearby for practice apps. The experience is useful, repeatable, and relatively low commitment.
That is why a net is such a strong first season. You learn whether winter practice becomes a habit, whether the room is quiet enough after 8 p.m., and whether left- and right-handed players can share the space, without framing an enclosure or committing to a projector mount.
The limit is immersion. You are hitting into fabric, not watching a drive land on a fairway. Some golfers prefer that simplicity. Others realize quickly that what they wanted was the room: projection, containment, seating, and a setup that stays ready. A net can still be the right long-term answer in a shared garage, condo space, or any room that has to return to normal use between sessions. In those cases, buying enclosure parts early usually creates clutter instead of a finished bay.
What a golf simulator enclosure is
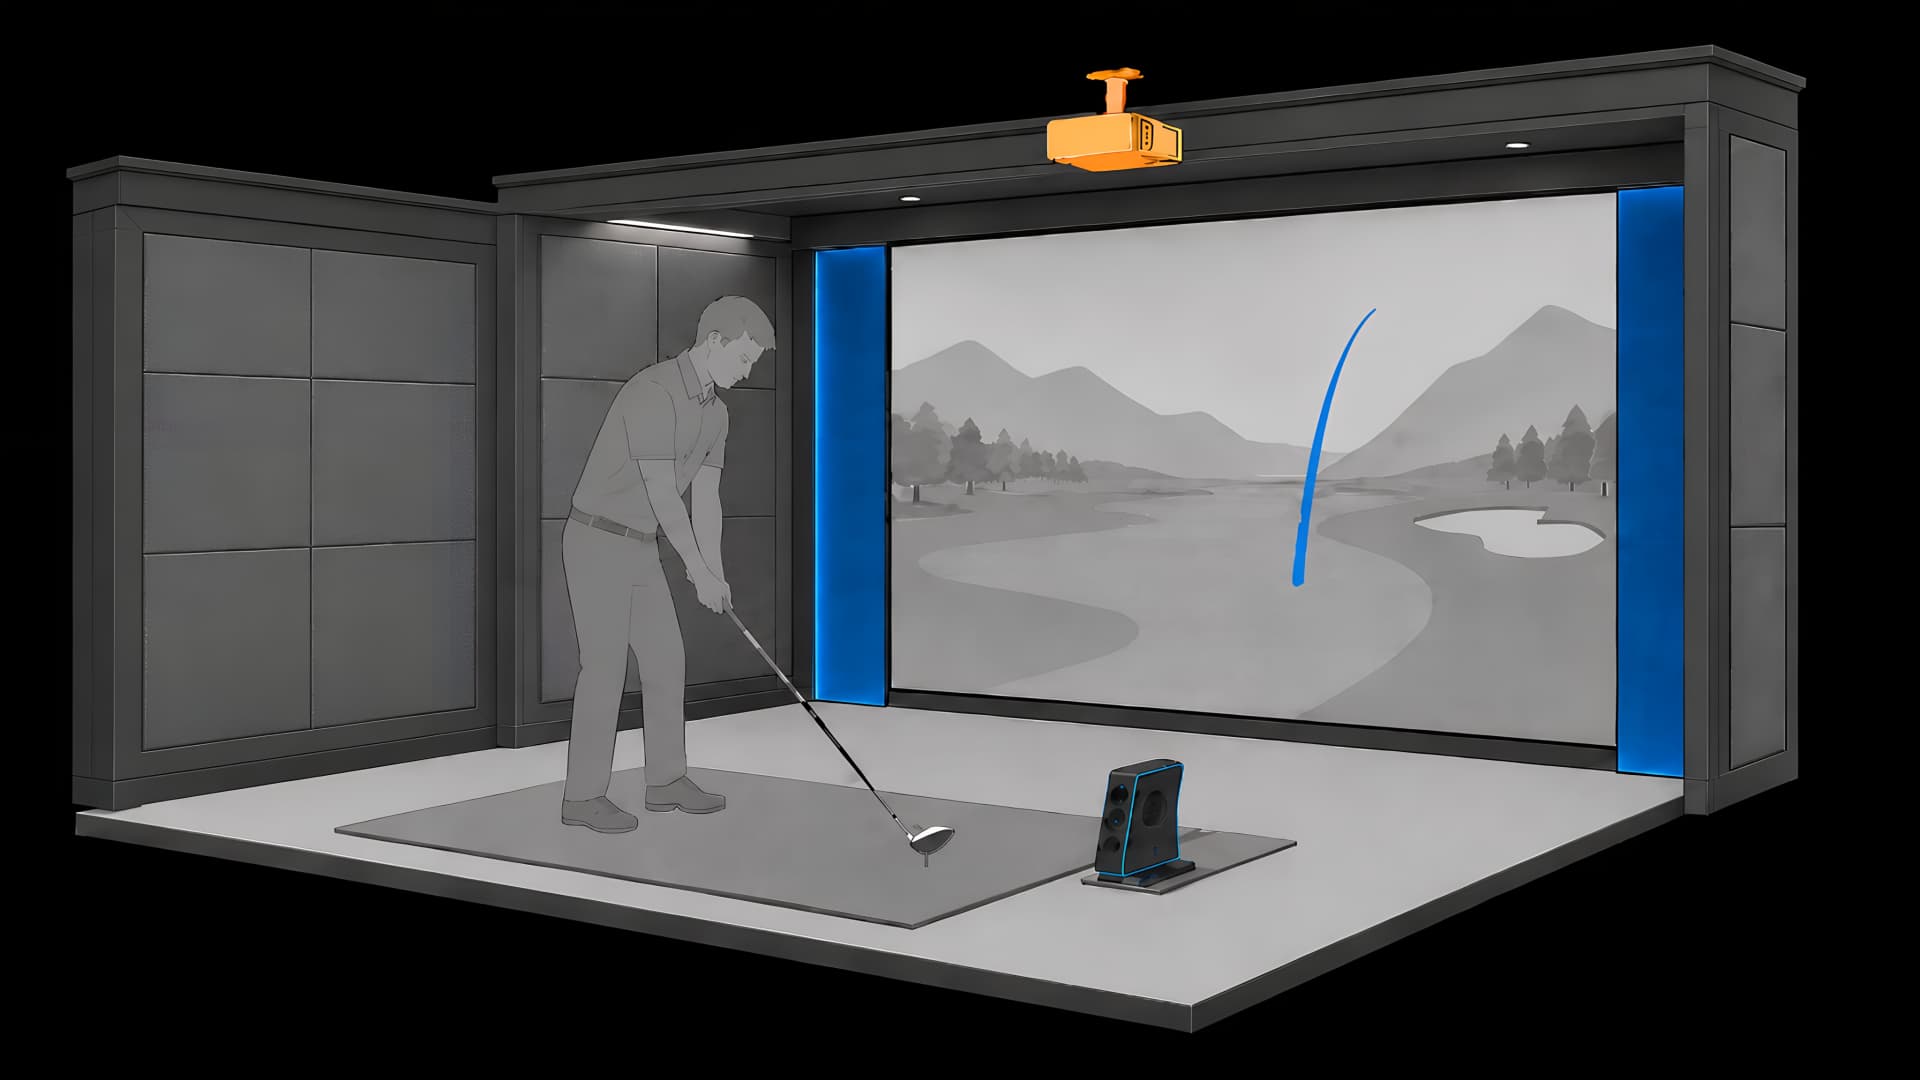
A full enclosure typically combines a tensioned impact screen, side curtains or panels, overhead protection, and a frame or room build that keeps everything square. The hitting mat and launch monitor sit in front. A short-throw projector, sized to the screen, mounts above or ahead of the player. You also need cable routes, a capable PC or software platform, and finishes that keep the room from sounding like a gym.
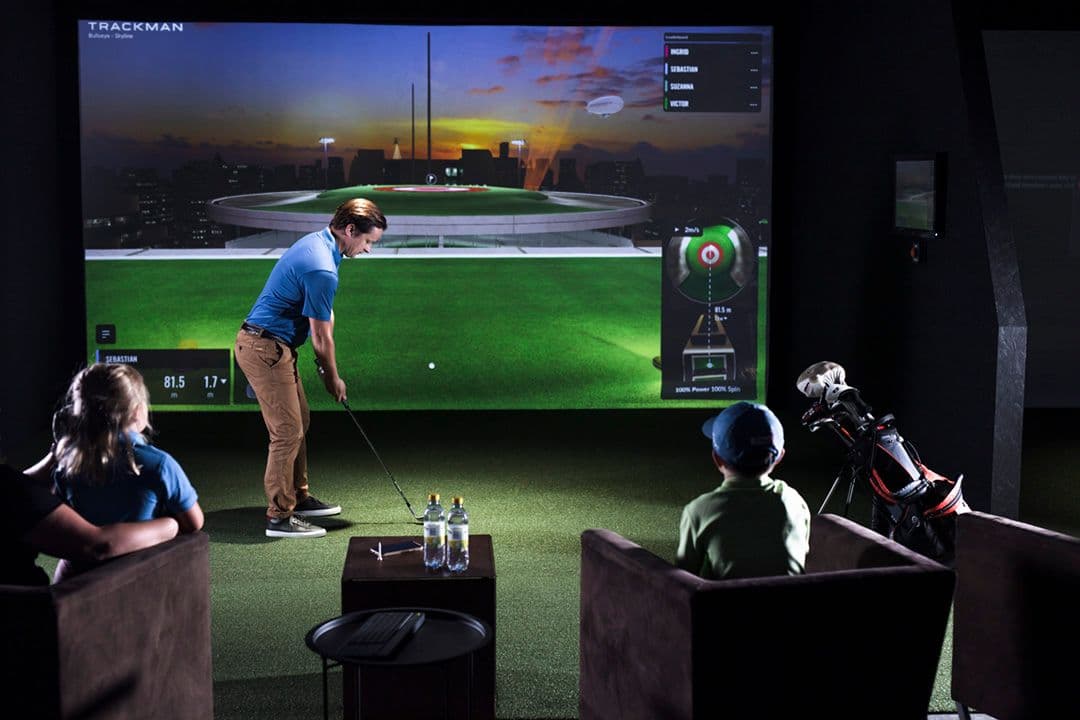
Done well, this is the setup people picture when they search for a home golf simulator: dark surround, bright course image, safe miss-hit containment, and a bay that feels permanent. The same screen can also support dual-purpose rooms for movies when nobody is swinging.
Done poorly, an enclosure is where budgets disappear: the screen is ordered before depth is confirmed, the projector is bought before throw distance is calculated, or the frame goes up before bulkheads and swing clearance are checked. That does not mean an enclosure was the wrong category. It means the room was not planned as a system. If the basement, garage, or media room is already dedicated, start with enclosure planning even if you phase the spend. Confirm room size and ceiling height first, then choose monitor and projector classes that fit the bay you can actually build.
Net vs kit enclosure vs custom golf simulator room
A free-standing enclosure kit with an impact screen is still an enclosure path. It gives you projection and containment without built-in turf, acoustics, and millwork. That can be a valid DIY answer when the room is dedicated and you accept an equipment-bay look. It is not a Built In Golf project.
A net with side panels and a roof is still a net path if there is no proper impact screen and projector. Adding curtains improves safety; it does not create a simulator room. If that is your budget and timeline, use the planning guides and self-build.
A custom room is the third path, and the one this site is built around. Instead of dropping a cage into a corner, the enclosure, screen, turf, lighting, acoustics, projector, and launch monitor are planned as one residential project. That is the work we do across Toronto and the GTA through turnkey installation, high-end custom rooms, and enclosure, screen, and projector setup when the rest of the home finish is already defined.
Golf simulator net vs enclosure comparison
| Factor | Hitting net | Full enclosure |
|---|---|---|
| Primary job | Stop balls for practice and data | Contain shots and display simulation |
| Immersion | Feel and numbers; little or no course image | Projected courses, games, entertainment |
| Typical depth | Often workable under about 15 ft | Usually wants about 15–20 ft total depth |
| Tee-to-target distance | Shorter spacing can still work if rebound is low | Plan about 10–12 ft ball-to-screen for safety |
| Permanence | Portable or easy to pack away | Semi-permanent kit bay or built-in room |
| Entry budget | Often about $500–$3,000 with a basic monitor | DIY kits often $3,500–$15,000; custom rooms much higher |
| Safety envelope | Only as good as net size, sides, and roof | Screen plus sides and roof form a full bay |
| Best next step | Self-build with guides and a monitor that can move later | If the room is permanent, plan a finished install |
Budget bands are planning ranges in line with our installation cost guide. Finished custom rooms sit much higher once construction is included.
Space and safety: net vs impact screen
For a projected enclosure, plan about 10–12 ft from ball to screen so rebound has room to die before it reaches the hitter. Leave roughly 12–16 in behind the screen so the fabric can flex instead of slamming into the wall. Add backswing space behind the golfer, and many full bays land around 15–20 ft of total room depth, depending on launch-monitor type. That is why enclosures punish short rooms.
A net often works in less depth because you are not sizing projector throw or a tensioned screen. That does not make an open net automatically safer. Guest golfers and high handicaps miss left, right, and high. If other people will use the bay, plan containment for the worst miss you are willing to live with. That is often when a simple net grows side panels and a roof, and starts to look like enclosure money anyway.
Screens and nets also behave differently on contact. A quality net tends to catch and drop the ball. An impact screen always has some rebound; tension, ball speed, and ball-to-screen distance decide whether that rebound is mild or dangerous. Standing too close to a screen is one of the most common enclosure mistakes.
Before you lock screen width or projector model, sketch depth, tee position, and throw in the Golf Sim Room Planner. Returning a projector that never fit costs more than ten minutes of planning.
When a golf simulator net is the better choice
- Your main goal is swing data and repetition, not projected courses
- The space is temporary, shared, rented, or still undecided
- You want a lower first spend before committing to a finished room
- Room depth is tight and a full screen bay would feel cramped
- You will pack the setup away between sessions
If this is you, stay in the guides: compare monitors in our launch monitor guide, check budgets in the installation cost guide, and come back when the room is ready to become permanent. A net season is a good test. It is not a custom install inquiry.
When a golf simulator enclosure is the better choice
- You want to play virtual courses, not only read numbers
- The room will stay set up and should feel like part of the home
- Friends, family, or dual theatre use matter as much as practice
- You need side and overhead containment for miss-hits
- You are ready to plan screen size, projector throw, and finishes together
A free-standing kit bay in an open basement corner is still an enclosure, but it is not the same project as a built-in room with turf transitions, acoustic treatment, concealed wiring, and lighting that belongs in the home. If you are building the kit yourself, use the installation cost guide and room planner. If the room has to feel finished, skip ahead to custom.
When a custom golf simulator room is worth it
- The room sits under living space and noise control actually matters
- You want turf, lighting, and finishes that look built into the home
- Cable routes, projector mount, and monitor geometry need one coordinated plan
- You are renovating a basement, garage, or media room and want the sim designed in
- A kit cage would look temporary in a space you intend to keep forever
Custom is where we help: measuring the real ceiling and hitting line, choosing a monitor that fits the bay, sizing the screen and projector correctly, and building a room people still want to use in year three. Typical finished residential projects land around $35,000–$85,000+, depending on scope and finish. Start with a design consultation, explore high-end installation or turnkey installation, or request a consultation with photos and dimensions.
How to choose between a net and an enclosure
Step 01
Decide what the room is for
Write one sentence: practice data, entertainment golf, or both. A net wins when that sentence is about improvement and frequency. An enclosure wins when it includes playing courses, hosting, or a finished space you leave standing.
Step 02
Measure width, depth, and ceiling height
Width at the hitting line, depth from the back wall to the net or screen, and clear ceiling height matter more than brand preference. If depth is short, a net can still deliver useful practice while an enclosure would force a short ball-to-screen distance or a compromised projector position.
Step 03
Compare full setup cost, not one product
A net looks cheap until you add a mat, side protection, and a launch monitor. An enclosure looks expensive until you realize the screen is only one line beside framing, projector, PC, software, and room prep. Compare complete setups.
Step 04
Choose a first season or a finished room
If you are still proving weekly use, a quality net season is often the smartest DIY money. If the basement or garage is already dedicated, will stay set up, and needs to look and sound like part of the home, skip the kit detour and plan a finished room the first time.
What every net or enclosure setup still needs
- A stable hitting mat with a safe stance surface
- Enough width for your follow-through and any opposite-handed players
- Clear ceiling height for the clubs you actually want to hit
- A launch monitor that fits the room depth and mounting style
- Protection for the worst miss, not only the centre of the target
In Toronto and GTA homes, this fork shows up constantly in basements with ducts on the hitting line and garages that still need a car in summer. A net can be the honest seasonal DIY answer. A kit enclosure can be the right self-built dedicated bay. A custom install is the right answer when the room has to feel like part of the house, and that is the only path we take on as a project.
Ready for a custom golf simulator room?
Contact us if you already know the basement, garage, or media room is becoming a finished simulator: quiet upstairs, clean finishes, correct screen and projector geometry, and a launch monitor chosen for the room rather than the other way around.
Stay in the guides if you want a pop-up net, a temporary practice bay, or a DIY kit you plan to assemble yourself. Those are valid choices. They are not our install scope, and a consultation will not be the useful next step until the room is ready to go permanent.
Golf simulator net vs enclosure FAQ
What is the difference between a golf simulator net and an enclosure?+
A golf simulator net is mainly a ball-stopping surface for practice with a launch monitor. An enclosure is a framed bay with side and often overhead containment, plus an impact screen sized for projection. The net answers whether you can hit safely and get data. The enclosure answers whether the room can feel like a real simulator.
Is a golf net good enough for a home simulator?+
Yes, if your goal is practice and data. A sturdy net, quality mat, and launch monitor can improve your game without a projector. It is not a full simulator experience, and it is not the kind of project Built In Golf builds. Use our planning guides if you are going the DIY net route; contact us when you are ready for a finished room.
When should I buy a golf simulator enclosure instead of a net?+
Choose an enclosure when you want immersive course play, a setup that stays assembled, stronger miss-hit protection, and a room that can double as entertainment space. If those outcomes matter now, plan the enclosure around room size and ceiling height instead of stretching a net past its job.
Can I start with a net and upgrade to an enclosure later?+
Yes, and that is a common DIY path. Keep the upgrade clean by choosing a mat and launch monitor that can move into a finished bay later, and avoid spending heavily on temporary framing you will throw away. If you already know the room is permanent, it is usually cleaner to plan the finished enclosure now instead of buying a kit you will replace.
Does a golf simulator enclosure need more space than a net?+
Usually yes. A net can work in a shorter room because you are not balancing ball-to-screen distance, behind-screen flex space, and projector throw. A projected enclosure typically wants about 10–12 ft from ball to screen, plus space behind the screen and behind the golfer, which is why many full bays land around 15–20 ft of total depth.
Is an impact screen safer than a golf net?+
Safety depends on the whole bay, not only the front surface. A well-built enclosure with sides and a roof usually contains mishits better than an open net. Screens also rebound; a properly tensioned screen at about 10 ft typically returns the ball a short distance, while standing too close or over-tensioning the screen raises bounce-back risk. Size containment for the worst shot in the room, not the average one.
How much does a golf net setup cost versus an enclosure?+
Entry net practice often lands around $500–$3,000 once a basic launch monitor and mat are included. A DIY projector enclosure commonly runs about $3,500–$15,000 in hardware. Finished custom rooms are a different band, often $35,000–$85,000+ once construction and finishes are included. See our golf simulator installation cost guide for the full ranges.
Can I project onto a golf net?+
Some people try it, but a purpose-built impact screen is made for image quality, tension, durability, and ball interaction. If projection is central to how you will use the room, plan for a proper screen and enclosure rather than forcing a net to act like one.
What should I buy first: net, enclosure, or launch monitor?+
Solve the room and the use case first, then buy the monitor that fits that decision. If you are proving the habit, start with a net path and a monitor that can move later. If you are building a permanent bay, confirm dimensions and enclosure geometry before locking the monitor and projector.
What about kit cages that are not a full custom room?+
A free-standing enclosure kit with an impact screen is still an enclosure path, not a hitting net. It can work when the room is dedicated and you accept a more equipment-in-a-corner look. If the room needs to feel built into the home, stay quiet upstairs, or match a renovation, a kit is usually the wrong ceiling. That is where a custom install makes more sense.
When is a custom golf simulator install worth it over a kit enclosure?+
Choose custom when the room needs to feel permanent, stay quiet upstairs, hide wiring, match the home’s finishes, or coordinate with a renovation. A kit puts equipment in a space. A custom install designs the bay into the house: enclosure architecture, turf, acoustics, projection, launch-monitor mounting, and calibration as one project. That is the work Built In Golf does.
Does Built In Golf install DIY nets or budget kits?+
No. We design and install finished residential simulator rooms: turnkey and high-end builds where the enclosure, screen, turf, projection, and launch monitor are planned as one project. If you want a pop-up net or a self-built kit bay, use the planning guides on this site. If you want a permanent custom room in Toronto or the GTA, request a consultation.