
01
Your screen sags or wrinkles
Loose screens kill image quality and wear faster. Retensioning or resizing fixes both.
Enclosure & Screen
Custom enclosures, impact screen tensioning, short throw projector alignment, and side netting for safe, immersive home simulator bays.
“They designed and installed our basement sim from scratch: clean finish, accurate launch monitor setup, and it plays exactly like we hoped.”
Sarah L. · Oakville
Need a design consult?
Contact us online
Enclosure & Screen
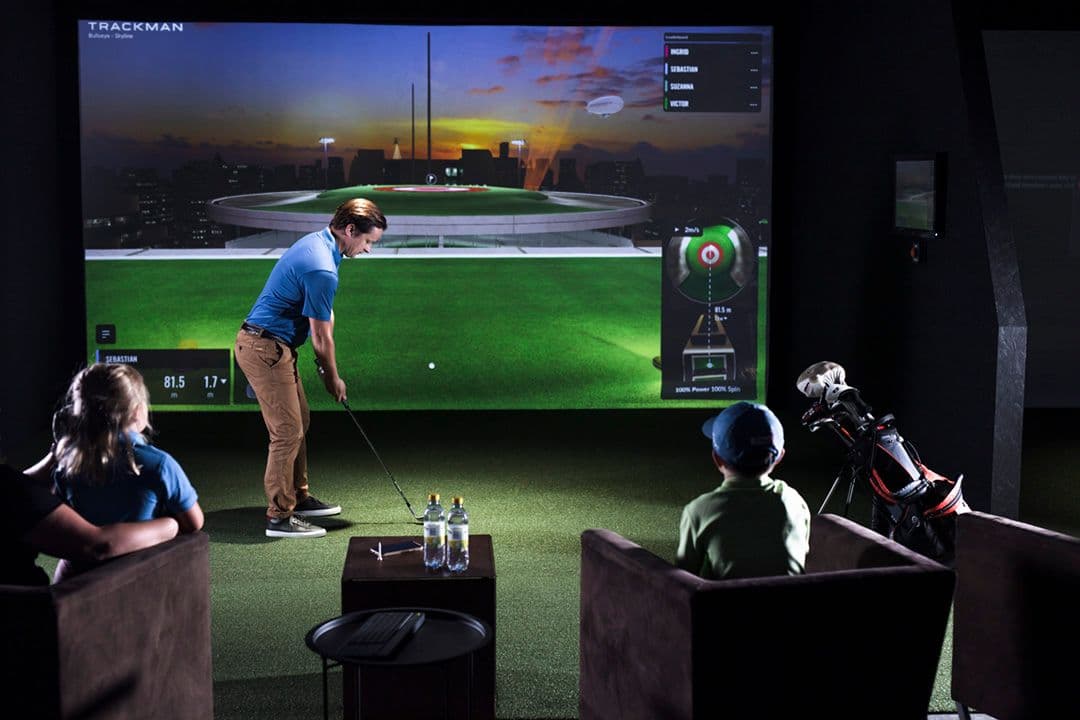
The screen is the surface you stare at for every session, and the component most DIY installs get wrong. Undersized frames, loose tension, wrong projector throw, and missing side protection create sagging images, noisy impacts, and unsafe ricochets. If your goal is golf simulator enclosure installation in Toronto, frame geometry and projection alignment have to be engineered together.
We build enclosures to your room dimensions, tension impact screens correctly, align projectors for sharp edge to edge image, and add netting or padding where shanks exit the primary impact zone.
Whether paired with a full high end build or upgrading an existing bay, proper enclosure and projection work transforms a net into a simulator you actually want to use.
Best Fit
The right scope depends on the room, the stage of your project, and how finished the space needs to feel.
Loose screens kill image quality and wear faster. Retensioning or resizing fixes both.
Throw ratio, mount offset, and keystone must match screen size, not guessed from a manual.
Enclosure design includes exit zones for mishits, especially in narrower Toronto basements.
Laser short throw projectors and proper screen material make courses readable and bright.
Process
Define width, height, and depth for your swing and projector throw.
Construct rigid screen frame and impact wall structure.
Mount and tension impact material to manufacturer spec.
Enclosure & Screen
Share the room, project stage, plans or photos, and intended use. We will follow up to discuss feasibility, scope, and practical next steps.
Enclosure & Screen FAQ
Practical questions clients ask about enclosure, screen & projector setup.
Yes. Ideal for dual purpose media rooms when paired with behind screen speaker placement.
Lifespan depends on tension, material tier, and session volume. Proper install dramatically extends usable life.
We spec and supply components as part of scoped installs, matched to your room rather than generic bundles.
It depends on room height, projector throw, and your software priorities. We choose format based on usable impact area and image fill, not just projector marketing specs.
Yes. We regularly retrofit finished basements and bonus rooms with minimal disruption, then tune image geometry and safety clearances to the final built conditions.
Where we install
Custom enclosure & screen for high-end homes across Toronto, the GTA, and select Canadian markets.
Related planning: Installation cost guide · All resources
Related Services
Most projects combine room planning, buildout, equipment integration, and calibration.
Custom Design-Build
Custom design-build for finished golf simulator rooms and private golf lounges, with premium finishes, acoustic planning, concealed technology, and one accountable team.
View serviceDesign Consultation
Laser measured feasibility study, swing path verification, and CAD layout for your home golf simulator, before you commit to hardware or construction.
View serviceBasement Build
Purpose built basement golf rooms with moisture aware subfloors, acoustic treatment, ceiling mounted tracking, and finish carpentry matched to Toronto homes.
View service